Control part quality
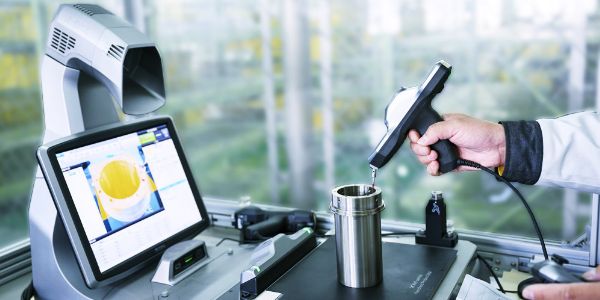
Material incoming inspection
The three-dimensional detector is the first detection method for incoming materials. Ensure that all processed products meet the requirements of drawing design accuracy, and only qualified products can enter the assembly process.

Assembly accuracy
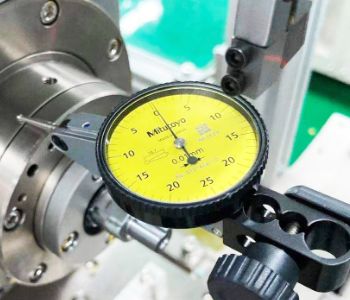
In the assembly process, the high precision of NITTOKU equipment is also reflected in the high standard of assembly precision. The assembly accuracy requirements of different equipment and different stations will be different. When assembling, use dial indicator, dial indicator and other tools to ensure the assembly accuracy. Example: Concentricity: within 0.01mm, levelness: within 0.03mm as the general accuracy requirement.

Max. accuracy 0.01mm
(Different equipment and different stations have different precision requirements)

Max. accuracy 0.001mm
(Different equipment and different stations have different precision requirements)
Product quality inspection
In the equipment debugging stage, under the state of high-speed winding, the winding process can also be played slowly by the high-speed camera, which is convenient for adjusting the winding program and creating perfect products.


Technology & Examples
- Tension Technology
- Winding Technology
- Wire Connection (fusion welding)
- Stripping Technology
- Cutting Technology
- Other Core Technology
- Part Feeding Technology
- Robotic Handling Technology